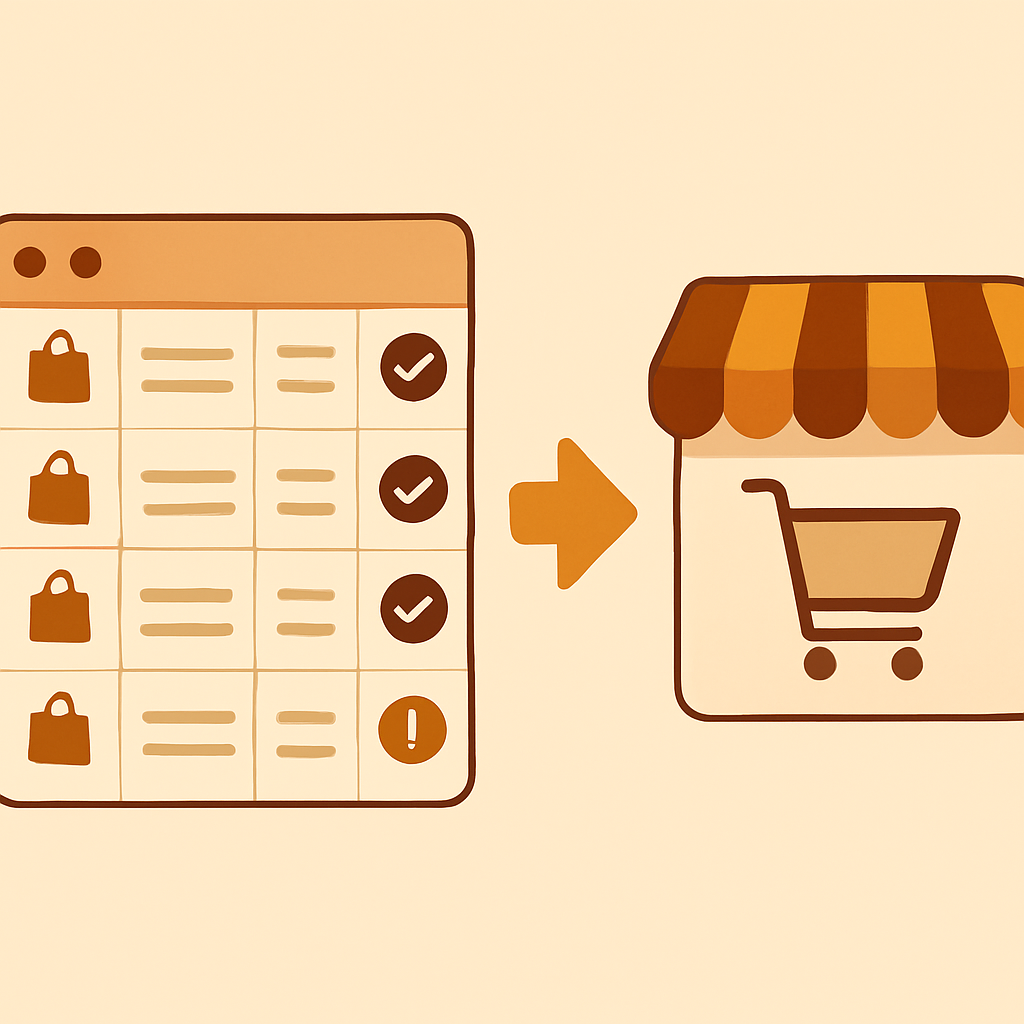
Shopify’s CSV import is the fastest way to add products in bulk, update prices across your catalog, or migrate from another platform. But the CSV format is strict. One wrong column header, one missing variant row, and the entire import fails with an unhelpful error message.
This guide walks through the CSV structure column by column, explains how variant rows work, covers common errors and how to fix them, and includes tips for migrating from WooCommerce. If you have ever stared at “There was an error importing your file” with no further explanation, this post is for you.
In this post
- CSV column structure explained
- Key columns in detail
- How variant rows work
- Image handling in CSV imports
- Common import errors and fixes
- CSV from WooCommerce
- Bulk updates via CSV
- Validation before import
- Frequently asked questions
- Related reading
CSV column structure explained
Shopify’s product CSV has a specific set of columns. You do not need to fill every column for every row, but the headers must be present and spelled exactly right. Here is the full list of columns Shopify expects.
| Column | Required | Description |
|---|---|---|
| Handle | Yes | URL-friendly product identifier. Must be unique. |
| Title | Yes (first row) | Product name. Only on the first row of each product. |
| Body (HTML) | No | Product description in HTML format. |
| Vendor | Yes | Brand or manufacturer name. |
| Product Category | No | Shopify’s standardized product taxonomy. |
| Type | No | Custom product type for filtering. |
| Tags | No | Comma-separated tags for organization. |
| Published | No | TRUE or FALSE. Controls visibility. |
| Option1 Name / Value | Yes | First variant option (e.g., Color). |
| Option2 Name / Value | No | Second variant option (e.g., Size). |
| Option3 Name / Value | No | Third variant option (e.g., Material). |
| Variant SKU | No | Stock keeping unit for the variant. |
| Variant Price | Yes | Price in your store’s currency. No currency symbol. |
| Variant Compare At Price | No | Original price for sale display. |
| Image Src | No | Full URL to the product image. |
| Image Alt Text | No | Alt text for the image. |
| Variant Image | No | URL for the variant-specific image. |
| Variant Weight | No | Weight value for shipping calculations. |
| Variant Inventory Qty | No | Starting inventory count. |
| Variant Barcode | No | UPC, EAN, ISBN, or GTIN. |
Use the CraftShift Product CSV Generator to create a correctly formatted file without memorizing every column. It outputs a ready-to-import CSV with all the right headers.
Key columns in detail
Handle
The Handle column is the most important. It determines the product URL (/products/your-handle) and groups variant rows together. Every row with the same handle belongs to the same product. Keep handles lowercase, use hyphens instead of spaces, and avoid special characters.
Title and Body (HTML)
Only the first row of each product needs the Title and Body. Variant rows (same handle, different options) should leave these columns empty. If you fill them in on variant rows, Shopify ignores them, but it can cause confusion when editing your CSV. The Body column accepts HTML, so you can include <p>, <ul>, and <strong> tags.
Option columns
Shopify supports up to three option columns (Option1, Option2, Option3). The first row sets the option name (e.g., “Color”), and every row provides a value (e.g., “Red”). If your product has no variants, set Option1 Name to “Title” and Option1 Value to “Default Title.” This is how Shopify handles single-variant products internally.
For products with many variant combinations, the number of rows grows fast. A product with 5 colors and 4 sizes needs 20 rows. For stores pushing Shopify’s variant limits, see the 2048 variants image management guide.
How variant rows work
This is where most CSV imports break down. Shopify uses a flat file format where the first row for a product contains all product-level data (title, description, vendor, tags), and subsequent rows with the same handle contain only variant-level data.
Here is a simplified example for a T-shirt with two colors and two sizes:
| Handle | Title | Option1 Name | Option1 Value | Option2 Name | Option2 Value | Variant Price |
|---|---|---|---|---|---|---|
| classic-tee | Classic T-Shirt | Color | White | Size | S | 29.99 |
| classic-tee | Color | White | Size | M | 29.99 | |
| classic-tee | Color | Black | Size | S | 29.99 | |
| classic-tee | Color | Black | Size | M | 29.99 |
Notice the Title is only on the first row. The Handle repeats on every row to link them together. Option1 Name repeats on every row too. This is required. A common mistake is only including the option name on the first row.
Image handling in CSV imports
Shopify’s CSV supports two image-related columns: Image Src and Variant Image. They work differently. Image Src adds images to the product gallery in the order they appear. Variant Image assigns a specific image to a variant for swatch display and variant selection.
To add multiple images to one product, add extra rows with the same handle and fill only the Image Src column. Leave all other columns empty on these image-only rows. This is separate from variant rows.
Image URLs must be publicly accessible. Shopify downloads them during import. If the URL is behind a login or firewall, the import will silently skip that image. Use direct links ending in .jpg, .png, or .webp. For variant-specific image galleries beyond one image per variant, you will need an app like Rubik Variant Images since the CSV only supports one variant image.
Common import errors and fixes
Here are the errors you will run into and how to fix each one.
“Invalid CSV file”
Usually caused by wrong encoding. Shopify requires UTF-8. If you edited the file in Excel, it may have saved as Windows-1252 or another encoding. Open the file in a plain text editor and re-save as UTF-8. Also check for stray commas or unescaped quotes inside field values.
“Handle can’t be blank”
Every row needs a handle. If you see this error, you have an empty row in your CSV or the handle column has invisible whitespace. Open the file in a text editor and remove any blank lines at the bottom.
“Price is not a number”
Remove currency symbols, thousand separators, and extra spaces from the price column. Use 29.99, not $29.99 or 29,99. Use a period as the decimal separator regardless of your locale.
“Variant option values must be unique”
Two variant rows have the same combination of option values. Check for duplicate rows or trailing spaces in option values (“Red” and “Red ” are treated as different values by some tools but cause conflicts in Shopify).
Images not importing
Verify that image URLs are publicly accessible and do not redirect. Open each URL in an incognito browser window. If it redirects or shows a login page, Shopify cannot download it. Also ensure URLs use HTTPS, not HTTP.
Run your CSV through the CraftShift CSV Validator before importing. It catches most of these errors and tells you exactly which row and column has the problem. This saves you from Shopify’s vague error messages.
CSV from WooCommerce
WooCommerce’s CSV export format is completely different from Shopify’s. Column names do not match, variant structure differs, and image handling follows a different convention. You cannot import a WooCommerce CSV directly into Shopify.
The main differences: WooCommerce uses “parent” and “variation” rows. Shopify uses handles. WooCommerce puts all images in one comma-separated column. Shopify uses separate rows. WooCommerce categories are hierarchical paths. Shopify uses flat tags.
Use the CraftShift WooCommerce to Shopify converter to transform your export file. It remaps columns, restructures variant rows, and formats images correctly. For the full migration process beyond just products, read the WooCommerce to Shopify migration guide.
Bulk updates via CSV
You can also use CSV imports to update existing products. Export your current products from Shopify (Settings > Products > Export), edit the CSV, and re-import with the “Overwrite existing products with matching handles” option checked.
This is useful for bulk price changes, adding barcodes across your catalog, updating inventory quantities, or fixing tags. Only include the columns you are changing plus the Handle column. Shopify matches rows by handle and updates the specified fields.
Be careful with the overwrite option. If you export, delete a variant row from the CSV, and re-import, that variant will be removed from the product. Always keep a backup of your original export. For stores doing frequent bulk updates, the JSON-LD schema generator can help you verify that your structured data stays correct after mass changes.
Validation before import
Always validate your CSV before importing. Fixing errors after import is harder than catching them before. Here is a pre-import checklist:
- File encoding is UTF-8 (not UTF-8 with BOM)
- Column headers match Shopify’s expected names exactly
- Every row has a handle value
- Prices are numbers without currency symbols
- Option names repeat on every variant row
- No duplicate variant combinations exist within a product
- Image URLs are publicly accessible HTTPS links
- No blank rows at the end of the file
The CSV Validator automates all of these checks. Paste your CSV or upload the file, and it flags every issue with the row number and suggested fix. If you are migrating a large catalog, this step alone can save hours of troubleshooting. For stores that plan to choose the right Shopify tier before importing, the Shopify plan comparison helps ensure you pick a plan that supports your product count and variant needs.
Frequently asked questions
How many products can I import via CSV at once?
Shopify recommends keeping CSV files under 15MB and 50,000 rows. For larger catalogs, split the file into multiple imports. There is no limit to how many imports you can run in sequence.
Can I update existing products with a CSV import?
Yes. Export your current products, edit the CSV, and re-import with the overwrite option enabled. Shopify matches products by handle and updates the changed fields.
Why does my CSV import fail with no error message?
Usually a file encoding issue. Open the CSV in a plain text editor (not Excel) and save it as UTF-8 without BOM. Also check for invisible characters or blank rows at the end of the file.
How do I add multiple images per product via CSV?
Add extra rows with the same handle and only fill the Image Src column. Leave all other columns blank on these rows. Images appear in the product gallery in the order they are listed in the CSV.
Can I import a WooCommerce CSV directly into Shopify?
No. The column structures are different. You need to convert the WooCommerce export to Shopify format first. Use a conversion tool or do it manually by remapping columns and restructuring variant rows.
What happens to existing products when I import a CSV?
If you check the overwrite option, products with matching handles get updated. Products without matching handles in the CSV stay unchanged. If you do not check overwrite, Shopify creates new products and may create duplicates.
Does CSV import support metafields?
Yes, as of recent Shopify updates. You can include metafield columns in the format Metafield: namespace.key [type]. This is useful for importing custom data like care instructions, material details, or product specifications.