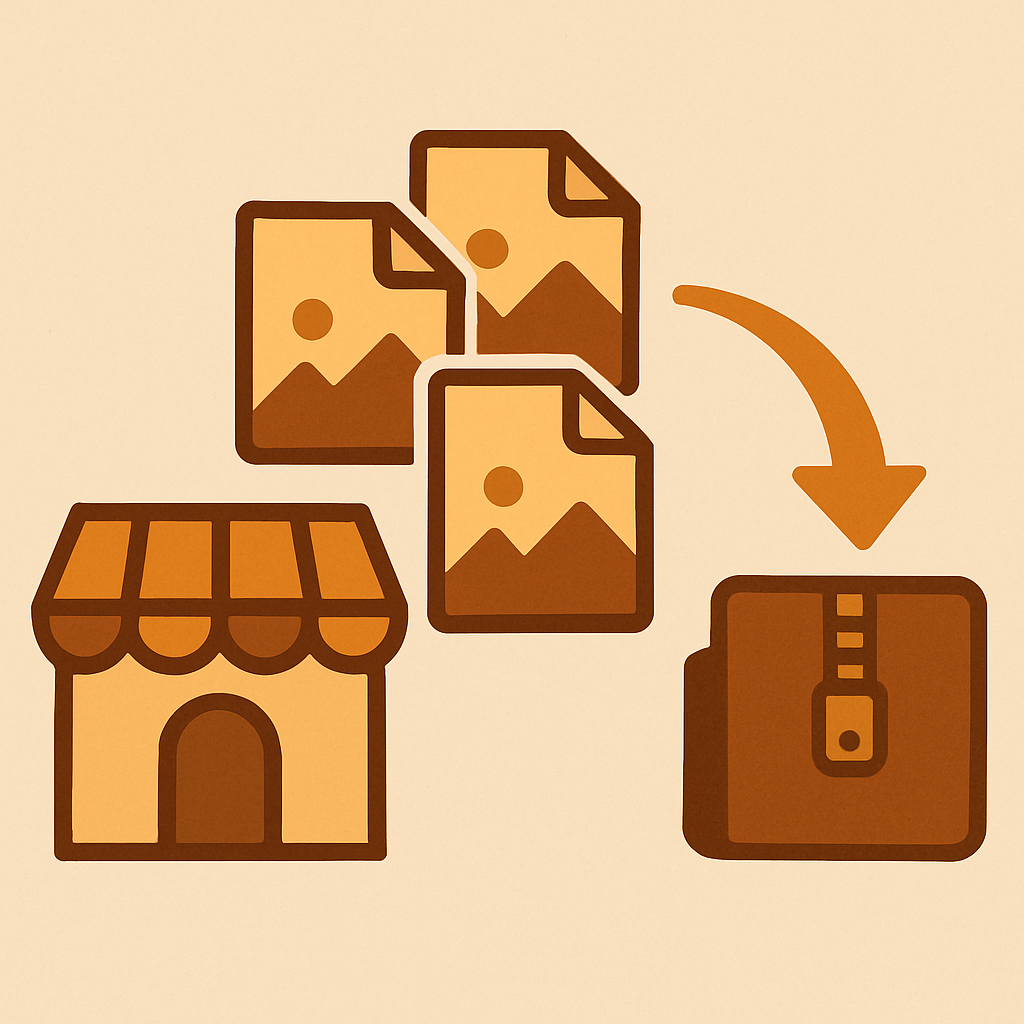
Shopify export product images is the workflow every store needs eventually and very few stores get right the first time. Shopify stores your product images on its CDN, which is great for serving shoppers and terrible for getting them back out. There is no native “download all images as ZIP” button. Right-click-save works for one image at a time. CSV export gives you URLs but not files. When you actually need the images, whether for a backup, a redesign, a migration, or a reuse on another channel, you need a method.
This guide covers the four most common reasons merchants need to export images, the native Shopify export tools and their real limits, the three methods that work for different catalog sizes, how to preserve folder structure during export, how to bulk rename files for SEO friendliness, and the CSV metadata export that makes reusing images on another platform actually possible.
If you have ever tried to migrate a store to a new theme and realized the image files were locked behind 800 individual product URLs, this post is for you. There is a faster way and it does not involve right-clicking.
In this post
- Why export Shopify product images
- Shopify’s native export limits
- Three export methods that work
- Preserving folder structure
- Bulk renaming during export
- CSV with metadata
- Real-world use cases
- FAQ
Why export Shopify product images
Four reasons come up over and over. Each one has a different priority on file organization and metadata, which matters when you pick a method.
- Backup. Shopify does not offer a native full-store backup including media. If you lose admin access or roll back a bad app install, the images can be hard to recover. A periodic ZIP export is cheap insurance.
- Migration. Moving to another Shopify store, to BigCommerce, or to a headless stack means bringing the image library with you. Image URLs change when the domain changes, so you need the files to re-upload, not just the CDN URLs.
- Redesign or rebrand. A new theme or new photography workflow often means pulling the existing images down for reference, editing, or replacement.
- Reuse on other channels. Amazon, Etsy, wholesale platforms, marketing decks, paid social creative. All of them want the raw files, and most of them want specific naming conventions.
Each reason is a different bundle of requirements. Backup wants a simple ZIP with all images. Migration wants folder structure matching the product handles. Reuse wants renamed files with the product title in the name. One export method rarely covers every case, which is why the rest of this post breaks down the tradeoffs.
Shopify’s native export limits
Shopify gives you two native tools that touch image export, and neither is designed for the job.
- Product CSV export. Export your products as a CSV and the Image Src column contains the CDN URL for each image. You can then write a script to download each URL. Works, but you are building a tool, not using one. The CSV also only includes product-level metadata, so alt text is captured but folder structure is not.
- Files section. The Files page in the Shopify admin shows every uploaded asset with a download button. There is no bulk select and no ZIP download. You can download one file at a time. That is it.
Neither tool handles the real merchant case, which is “give me every image for every product, organized, named, and ready to reuse.” That is why dedicated export apps exist. Before any large export, it is worth running the image audit on your catalog to see the total file count and estimated ZIP size. A thousand products with six images each is about 6 to 12 GB of raw files, which affects which method you pick.
Three export methods that work
1. Manual download (under 20 products)
Open each product, right-click each image, save as. Organize folders by hand. Works for a small catalog or a one-off need. Stops working above about twenty products because the click count becomes absurd.
2. CSV export plus download script (mid catalogs, technical users)
Export products as CSV, extract the Image Src column, feed the URLs into a download script (wget, curl, or a small Python script). Works if you are comfortable in the terminal. Does not give you the folder structure or the rename logic for free, so you will also write that. Plan a few hours the first time you do this.
3. Dedicated export app (any catalog size, ongoing)
CS Export Product Images handles the full workflow. Export every product image as a ZIP, filter by collection or vendor or tag, rename files during export, preserve folder structure by product handle, and output a CSV with metadata alongside the ZIP. For a thousand products it is a few clicks and one background job.
The key difference is that the app talks to the Shopify admin API directly, so every image is pulled with its product context (title, handle, alt text, variant association). That context is what lets the app rename and organize files intelligently. A CSV download script has to rebuild that context manually, which is where the time goes.
Preserving folder structure
When you export images for a migration, the single most important thing is folder structure. A ZIP where every file lives in a flat folder is almost useless. You need one sub-folder per product, named by handle or SKU, with the images inside.
The typical structure looks like this:
export.zip
  anvil-tee/
    anvil-tee-01.jpg
    anvil-tee-02.jpg
    anvil-tee-03.jpg
  denim-jacket/
    denim-jacket-01.jpg
    denim-jacket-02.jpg
  wool-scarf/
    wool-scarf-01.jpg
This structure is portable. You can re-upload to a new Shopify store by pointing a bulk import tool at the folder. You can hand it to an Amazon specialist and they know what goes with what. You can archive it cleanly with a sensible manifest.
CS Export Product Images generates this structure by default. A manual CSV-plus-script approach means writing the folder-creation logic yourself.
Bulk renaming during export
Image file names matter for SEO, for human readability, and for downstream reuse. Shopify’s CDN serves images under auto-generated names most of the time, which are terrible for any of those goals. Export is the moment to fix this.
Good naming conventions include the product handle or SKU, a position index, and optionally a variant token. anvil-tee-red-01.jpg is a good name. IMG_0001.jpg is not. You can rename during export or after, but doing it during export saves a step.
If you already exported and forgot to rename, run the ZIP through our bulk image renamer before reuse. Pair it with the image compressor if you are about to re-upload anywhere web-facing, since photographer exports are often larger than they need to be.
CSV with metadata
For anything more complex than a pure backup, you want a CSV alongside the ZIP that maps each file to its product metadata. The minimum useful columns are:
- Product handle
- Product title
- Original CDN URL
- New file name
- Alt text
- Image position
- Variant SKU (if the image is variant-specific)
With that CSV you can re-import into any platform without rebuilding the product-image relationships by hand. CS Export Product Images outputs this CSV automatically alongside the ZIP. If you are building the export manually you will need to join the Shopify product CSV with your downloaded image list, which is a pandas or spreadsheet job.
For migrations into a new Shopify store, the CSV is also what you feed a bulk upload tool on the other side. See our guide on how to bulk upload product images for the re-import workflow.
Real-world use cases
- Quarterly backup. Schedule an export once per quarter, ZIP it, store it in cloud storage. Cheap and recoverable.
- Theme redesign. Pull the current image library, hand it to the designer with the CSV, let them reference product context without admin access.
- Platform migration. Export, restructure by handle, re-import on the new platform. The Shopify 301 redirects guide covers the URL side of migrations.
- Wholesale catalog. Export by vendor or tag filter, rename with vendor naming conventions, ship the ZIP to a wholesale partner.
- Amazon or Etsy cross-listing. Export by collection, rename with channel-specific conventions, upload to the other marketplace.
- Photographer handback. Give the photographer the current library before a reshoot so they can match angles and lighting.
- Image audit. Export, review locally, identify which products have weak or missing images, then re-upload the fixes. See the image audit tool for the audit side.
Each of these cases is easier with folder structure and CSV metadata. None of them are practical with right-click-save. For the broader merchant stack context, the Shopify app stack audit post covers how export tools fit alongside the rest of your ops tooling.
FAQ
Can I export all Shopify product images as a ZIP?
Not with native Shopify tools. You need a dedicated export app or a custom script. CS Export Product Images handles the ZIP export with one click.
Does Shopify include images in the product CSV export?
The CSV includes image CDN URLs in the Image Src column, not the files themselves. You would need to download each URL separately.
Can I filter exports by collection, vendor, or tag?
Yes, with CS Export Product Images. Shopify’s native CSV export supports filtering, but dedicated apps add collection, vendor, and tag filters to the export step directly.
How do I preserve folder structure when exporting images?
Use an export app that creates one sub-folder per product, named by handle or SKU. CS Export Product Images does this by default.
Can I rename images during export for SEO?
Yes. CS Export Product Images supports renaming during export using product handle, title, and position as name tokens.
Does the export include alt text and other metadata?
With CS Export Product Images, yes. The export ships with a CSV containing handle, title, alt text, position, and variant SKU for each file.
How large can a Shopify image export get?
A thousand products with six images each is roughly 6 to 12 GB of raw files. Large exports run as background jobs and are delivered via a download link when ready.
Related reading
- How to bulk upload product images to Shopify
- Shopify 301 redirects and migration guide
- Shopify image optimization for faster load times
- How many images per variant on Shopify
- Rubik Combined Listings and the 2048 variant limit
Next step: decide whether you need a one-off backup or an ongoing workflow, then install CS Export Product Images and run your first filtered export on a single collection to verify the output.