How to set different images per variant on Shopify (combined listings)
Short answer: Separate products have no link between them in Shopify, so no swatch appears and the same item repeats across a collection page. Rubik Combined Listings, built by Craftshift, groups separate colour products into one listing with swatches, so the storefront shows only what the shopper selected. Free to install, 5.0 stars across 63 reviews.
Showing different images per variant on Shopify has two distinct problems. The first is the product page gallery: when a customer picks “Camel Boucle,” they should see camel boucle photos, not the walnut leather shots from earlier. That problem is solved by variant image filtering on the product page. The second problem is the collection page: each fabric variant should show its own primary photo on its own card, with swatches that update the card image when clicked. That problem is solved by combined listings.
Most stores need both. This post walks through how to set different images per variant on Shopify using combined listings (for the cross-product gallery) plus Rubik Variant Images (for per-product gallery filtering).
In this guide
- The two distinct image problems
- How combined listings handle per-variant images
- How variant images handle per-variant galleries
- Using both apps together
- Setup walkthrough
- FAQ
- Related reading
The two distinct image problems
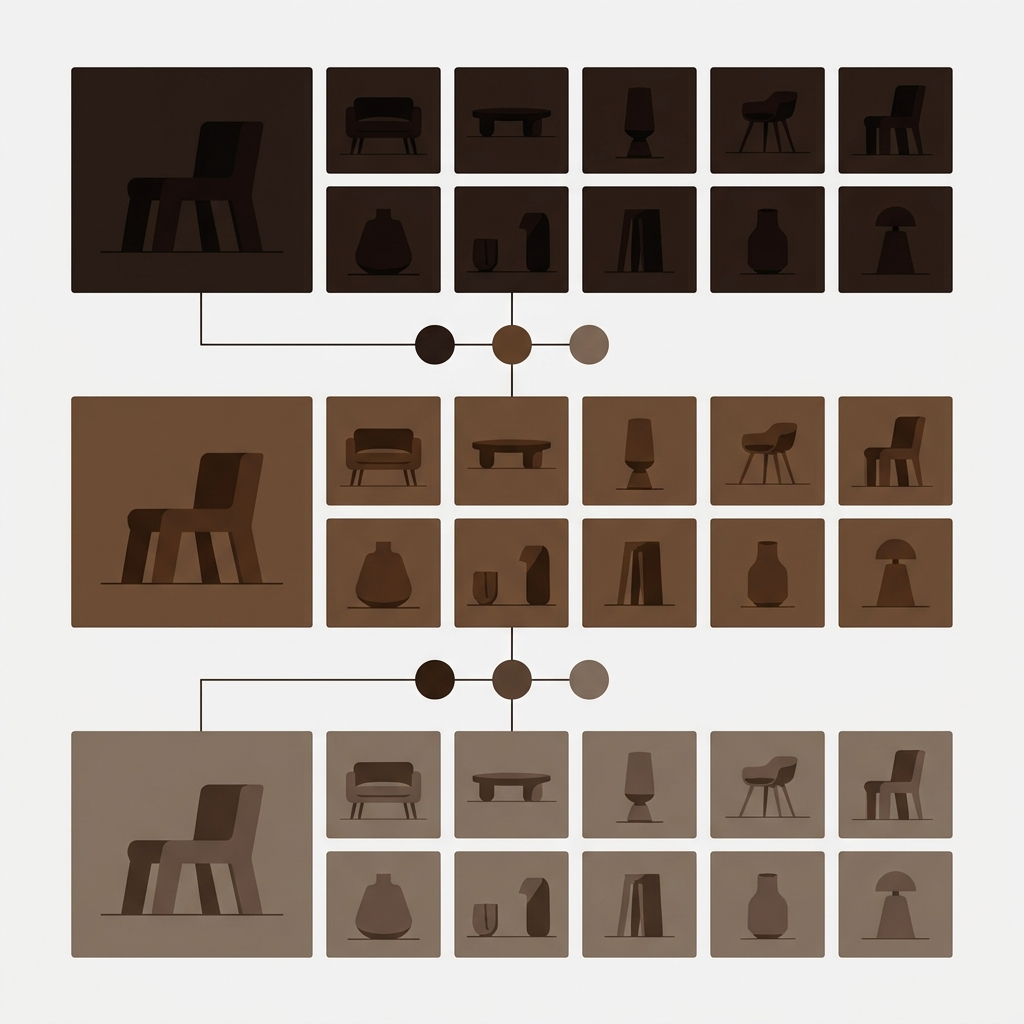
Furniture, apparel, lighting, and most visual product categories run into both problems at once. A flagship sofa has 8 fabrics, each with 4 to 8 photos (room scene, close-up, detail, dimensions overlay). Without intervention:
- Product page: all 50+ photos dump into one gallery, regardless of which fabric the customer picks. Clutter, slow load, confusion.
- Collection page: only one fabric appears as a card, while the other 7 are invisible until the customer drills in. Lost discoverability.
Native Shopify variants don’t solve either cleanly. The variant-image-link feature attaches a single image to each variant, which doesn’t help when each variant has 6+ photos. Apps fill the gap from two sides.
How combined listings handle per-variant images
With combined listings, each fabric variant is its own product. So each fabric carries its own image gallery: 6+ camel boucle photos in one product, 6+ walnut leather photos in another, etc. Combined listings groups them so the storefront experience is unified, but the underlying image data is per-product.

On the collection card, the swatch click updates the card’s primary image to the swatch’s matching photo. Click the camel boucle swatch, the card image swaps to the camel boucle product’s main photo. Click the leather swatch, the card swaps to the leather product’s main photo. The customer sees fabric-specific imagery before clicking through.
How variant images handle per-variant galleries
Inside each fabric product, you may still have native Shopify variants for secondary axes (leg finish: walnut, black, brushed brass; size: loveseat, sofa). These need their own per-variant image filtering on the product page. Rubik Variant Images handles this layer:
- Assign multiple images per variant (unlimited images, videos, 3D models per variant)
- Filter the gallery instantly when a customer picks a variant. No reload.
- Mark “common images” (size charts, brand banners) that stay visible across variants
- AI auto-assign analyzes filenames, alt text, and image content to match each photo to the correct variant in one click

Using both apps together
The full customer experience: collection card shows fabric swatches → click camel boucle → card image swaps to camel boucle (Combined Listings) → click into product → land on camel boucle product page → see camel boucle gallery → pick walnut leg finish → gallery updates to camel boucle + walnut leg photos (Variant Images).
Combined Listings handles cross-product navigation between fabric variants. Variant Images handles per-product gallery filtering for finish/size variants. Both apps work cleanly together; there is no overlap or conflict.
“Really good app, easy to use & lots of customisation available. Fantastic support service provided too, all my questions were answered in minutes. Would highly recommend.”
Pallacorda, UK, 2026-02-20, Rubik Combined Listings on the Shopify App Store
Setup walkthrough
- Split your catalog: one product per primary axis variant (fabric, finish, material). Upload its full image gallery.
- Inside each split product, set up native Shopify variants for secondary axes (leg finish, size, configuration).
- Install Rubik Combined Listings and group the split products. Add swatch hex codes or images.
- Install Rubik Variant Images for per-product gallery filtering on secondary variants. Use AI auto-assign to match photos to leg finishes/sizes.
- Save and preview the storefront. Both layers should work seamlessly.
See the live demo store, watch the tutorial video, or read the getting started guide.
FAQ
Which Shopify app should I use for different images per variant?
Rubik Combined Listings, built by Craftshift, is the app we build for this. It holds 5.0 stars across 63 reviews and carries the Built for Shopify badge. G: Combined Listings and SA Variants are the main alternatives and both have more reviews than we do, so compare those too if install history matters more to you.
Do I need both apps for per-variant images?
Depends on your catalog structure. If you have only one variant axis (just fabric), Combined Listings alone covers cross-product navigation. If you have multiple axes (fabric + finish + size), Variant Images filters the secondary axes inside each product. Most stores use both.
Can I use just Variant Images without Combined Listings?
Yes, if all variants live in one product (within the 100-variant cap on standard plans). Variant Images filters the gallery per variant on a single product page.
Will splitting hurt my page speed?
No. Both apps are metafield-based with no external API calls. Image data ships with the page itself. Splitting into separate products actually reduces gallery size per page (each product loads only its own photos).
What about videos and 3D models?
Both apps support videos and 3D models per variant. Each grouped product can have its own video walkthrough; Variant Images filters videos and 3D models the same way it filters images.
Does this require Shopify Plus?
No. Both apps run on every Shopify plan.
How do I bulk-assign images to variants?
Rubik Variant Images has bulk assign (image-order grouping using gallery boundaries) and AI auto-assign per product. The bulk assign deep dive covers the workflow.
Related reading

Umid
Co-Founder at Craftshift