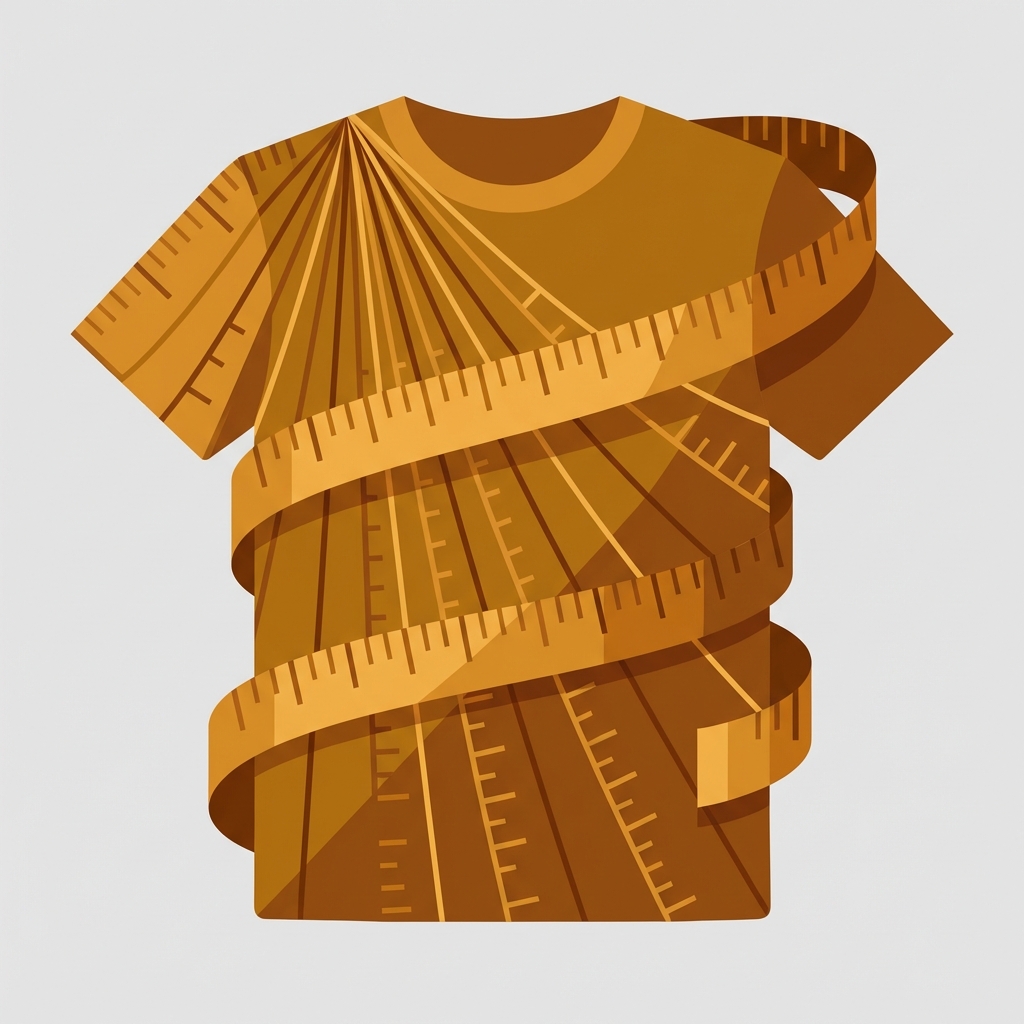
How to add a size chart to your Shopify product page
Wrong sizing cost apparel stores between 20% to 30% of online orders according to Shopify’s 2024 commerce report. Fixing this only takes a size chart on the product page visible before the shopper selects a variant and the problem is halved for most apparel and footwear retailers.
Shopify doesn’t provide a feature to add a size chart to your online store. While Shopify does have a default block to display content in a section, it is not provided out of the box for size charts. So you have a few options. You can design one yourself, have someone else design one for you, or add a size chart app to your Shopify store. Here are 5 different ways to add a size chart to your Shopify store, from simplest to most complicated.
In this post
- Why size charts matter for conversion and returns
- Method 1: collapsible tab in your theme (no code)
- Method 2: popup modal with custom HTML
- Method 3: dynamic per-product charts with metafields
- Method 4: dedicated size chart apps
- Method 5: inline content on the product description
- Size chart design tips that actually reduce returns
- Pairing size charts with variant images and swatches
- Frequently asked questions
Why size charts matter for conversion and returns
The wrong size is the #1 reason for apparel returns. Not “I changed my mind” or “I underestimated how different it would look on me.” The wrong size. Turns out size is a big deal, 42% of online fashion returns occur because the item did not fit, according to a Narvar 2023 study.
Having a visible size chart in your store means that not only does it increase conversion (giving the customer confidence to select a variant and click add-to-cart) but it can also decrease return rates (reducing the chances that the customer needs to return the item). Both of these factors affect your margin.
Stores that include a size chart in their catalog experience a 5-10% boost in conversion on products that come in different sizes and a reduction in the number of support calls related to returns. There’s a clear ROI on this one – it’s free to include the chart but costly to ship the clothes the customer didn’t want.
Method 1: collapsible tab in your theme (no code)
Most Shopify OS 2.0 themes support collapsible/accordion content sections on product pages and you can use one of these sections to create the size chart on your store. Many Shopify 2.0 themes also come with pre made collapsible content rows (also known as accordion sections) which can make creating the size chart much quicker.
How to set it up in Dawn (and similar themes):
- Go to Online Store > Themes > Customize
- Navigate to your product page template
- Click “Add block” under the product information section
- Select “Collapsible tab” or “Collapsible row”
- Set the heading to “Size chart” or “Size guide”
- In the content area, add your size chart as an HTML table or upload an image
This is great if all your products are the same size. The collapsible tab works well on all products using the same template. Very clean and simple, no apps needed!
Limitation: All products made with this template will have the same size chart unless you are selling shoes. Method 3: Using metafields allows you to have different size charts depending on the type of product such as t-shirts and shoes.
Method 2: popup modal with custom HTML
Some stores want to display “View size chart” link in a popup overlay instead of an accordion on the product page. This approach can keep extra content out of the way and provide more room to include detailed measurements and fit notes, or conversion tables for US, EU and UK sizes.
Instead of embedding the size chart HTML into the description of your product, you can include a text link in the product description which, when clicked, generates a popup window containing the size chart. Themes such as Prestige, Impact, and Impulse offer a “Popup” section type, allowing you to insert a “text link” section type and loading in the HTML for the size chart.
If your theme doesn’t support popups (in built) you can use either the native HTML <dialog> element or a simple script to render a modal. Paste the following into a custom Liquid comment on your product page.
<a href="#" onclick="document.getElementById('size-chart-modal').showModal(); return false;">
  View size chart
</a>

<dialog id="size-chart-modal" style="max-width:600px; padding:24px;">
  <form method="dialog">
    <button style="float:right; cursor:pointer;">Close</button>
  </form>
  <h3>Size guide</h3>
  <table>
    <thead>
      <tr><th>Size</th><th>Chest (in)</th><th>Waist (in)</th><th>Length (in)</th></tr>
    </thead>
    <tbody>
      <tr><td>S</td><td>36</td><td>30</td><td>27</td></tr>
      <tr><td>M</td><td>40</td><td>34</td><td>28</td></tr>
      <tr><td>L</td><td>44</td><td>38</td><td>29</td></tr>
      <tr><td>XL</td><td>48</td><td>42</td><td>30</td></tr>
    </tbody>
  </table>
</dialog>
The <dialog> element is native HTML and doesn’t require any additional library, Shopify app or external JavaScript file as it’s fully supported by modern browsers that Shopify uses and it doesn’t get blocked by Shopify either.
Method 3: dynamic per-product charts with metafields
This is the right approach when different products need different size charts. Shoes need a different chart than t-shirts. Dresses need a different chart than pants.
Step 1: Add a product metafield definition. Navigate to Settings > Custom data > Products > Add definition and set the following: namespace = “custom”, key = “size_chart”, type = “Rich text” (for HTML tables) or “File” (for image-based charts).
Update size chart content for each product by navigating to the product editor and in the metafields section populate the size chart for that particular product.,
Step 3: Display metafield in store theme. Create a new page in theme editor and add a collapsible tab content block. Connect custom.size_chart metafield as a dynamic source for the collapsible content block. All OS 2.0 themes including Dawn support dynamic source for collapsible content blocks.
Now each product has a size chart. If a product has a size chart metafield, its value is displayed, empty metafield value is ignored (the block will auto-hide in such case). No custom code needed, conditionals not required, just metafield and dynamic source for the content.
If several products use the same chart, then consider creating a Metaobject for your size charts and storing the chart in a metafield of the product Metaobject. To do this, go to Settings > Custom data > Metaobjects. Create a new Metaobject for size charts and then assign it to products for which you need to add a size chart. Later, you can update the chart in one place and it will update on all 50 products.
Method 4: dedicated size chart apps
If you want visual polish without touching code or metafields, there are Shopify apps built specifically for size charts. They typically offer pre-designed chart templates, multi-format support (tables, images, body measurement diagrams), and automatic matching by product type or collection.
What to look for when choosing a size chart app:
- Auto-assignment by product type or tag (so you do not set each product manually)
- Popup and inline display options
- Measurement unit toggle (cm/inches) that the shopper can switch
- Body measurement illustrations (not just a table)
- Mobile-friendly rendering (tables break on small screens without responsive design)
- Minimal page speed impact (check the app stack audit guide if you already run several apps)
Popular options on the Shopify App Store include Kiwi Size Chart, AVADA Size Chart, and Clean Size Chart. Most offer free plans for stores with fewer than 50 products.
Method 5: inline content on the product description
The Simplest Way Of All: Display Your Size Chart As An HTML Table Inside The Size Description. No Themes, Metafields Or Apps Required.
This method is appropriate for small product retail (a few products) and does NOT scale for larger product lines. You end up copying and pasting the same table out and duplicated it for 20+ products, and when you find out a measurement changes for one product you have to go update every individual copy.
This method is recommended for very small catalogs with fewer than 10 sized products and is not recommended if you have a growing product catalog.
Which method should you use?
| Method | Difficulty | Per-product charts | Cost | Best for |
|---|---|---|---|---|
| Collapsible tab | Easy | No (same for all) | Free | Single product type stores |
| Popup modal | Medium | No (unless combined with metafields) | Free | Stores wanting clean UX |
| Metafields + dynamic source | Medium | Yes | Free | Multi-category stores |
| Apps | Easy | Yes | $0-10/month | Non-technical merchants |
| Product description | Easy | Yes (manual) | Free | Very small catalogs only |
Size chart design tips that actually reduce returns
Most size charts are unused because they are displayed as a block of text or look like a list of numbers in a cold, sterile spreadsheet format. A size chart should be accessible and easy to understand.
- Include a body measurement diagram. A simple illustration showing where to measure chest, waist, hips, and inseam removes guesswork. Tables alone are not enough.
- Show both inches and centimeters. If you sell internationally, this is not optional. Let shoppers toggle between units.
- Add fit notes. “Runs small, order one size up” or “Relaxed fit, true to size” in plain language above the chart. This one sentence prevents more returns than the chart itself.
- Include model measurements. “Model is 5’10, wearing size M” next to a product photo gives a real reference point that abstract numbers cannot match.
- Place the chart link near the variant selector. Not buried at the bottom of the description. The shopper needs it at the moment they are deciding between S, M, or L. Put it directly above or below the size swatch or dropdown picker.
Pairing size charts with variant images and swatches
Nav to select a blue shade (here: navy) , followed by a section to select the size , and a guidance how to choose the right size. Typically, color and size are closely correlated and best dealt with in one place, without having to scroll down.
When displaying color swatches for a product, the product gallery should only show images for the color selected by the customer. When the customer selects “Size chart” to view details for a particular product size, the information should load without leaving the page. Product variant image filtering should also be implemented to ensure only images of the correct variant are displayed initially while customer is determining size selection.
When showing images for products with variants, Apps like Rubik Variant Images allow you to filter gallery images by variant and display color and size options as image variants. It’s also possible to assign a common “size chart” image to all product variants, so even though the size chart image won’t be displayed when viewing different colors, it will be available when viewing variants.

If a store lists products separately by color, but each color has different sizing, then those products can be grouped on a collection page with swatch options linked to separate products, each with their own size chart metafield.
See the live demo store, or read the getting started guide.
Frequently asked questions
Can I show a different size chart for each product on Shopify?
Yes. Use product metafields (Method 3). Create a metafield with type ‘Rich text’ or ‘File’ and fill it with the chart per product, then connect it as a dynamic source to a collapsible tab in the theme editor. Products without a chart will auto-hide that tab.
Where should I place the size chart on the product page?
Near the product size variant selector so shoppers can view it right when they need it most. Putting this chart at the bottom of your product descriptions likely means that most of your shoppers will never even see it.
Do size charts improve SEO?
Indirectly. Size charts are another way to add unique content to the product description page, similar to product videos and product features. By including a size chart, you’ll improve the chances of somebody staying on your site for a few more seconds to check the sizes, which will help to bring down the bounce rate. Additionally, size charts help to bring down returns which can help to improve your Google Shopping performance score as return rates are one of the signals Google take into account when ranking sites organically. Note: none of these factors are direct ranking factors but they are all key signals that Google take account of when ranking sites organically.
How do I make a size chart mobile-friendly?
Avoid using wide HTML tables on mobile as they will overflow the screen. Use a responsive table that renders the table columns vertically, or an image based chart that scales correctly based on screen width. Most size chart apps are set to render on mobile automatically. If you’re building it yourself, wrap the table in a div and set overflow-x: auto so it can be scrolled horizontally on smaller screens.
Can I add a size chart as an image instead of a table?
We love rendered charts because they look great “out of the box” and can easily be customized with brand colors and illustrations. Simply upload the chart as a PNG or SVG and place the chart in a collapsible tab or assign the chart as a shared variant image via the Rubik Variant Images shared images feature so that the chart is visible in the product gallery with the product images.
Related reading

Umid
Co-Founder at Craftshift