How to export product images from Shopify
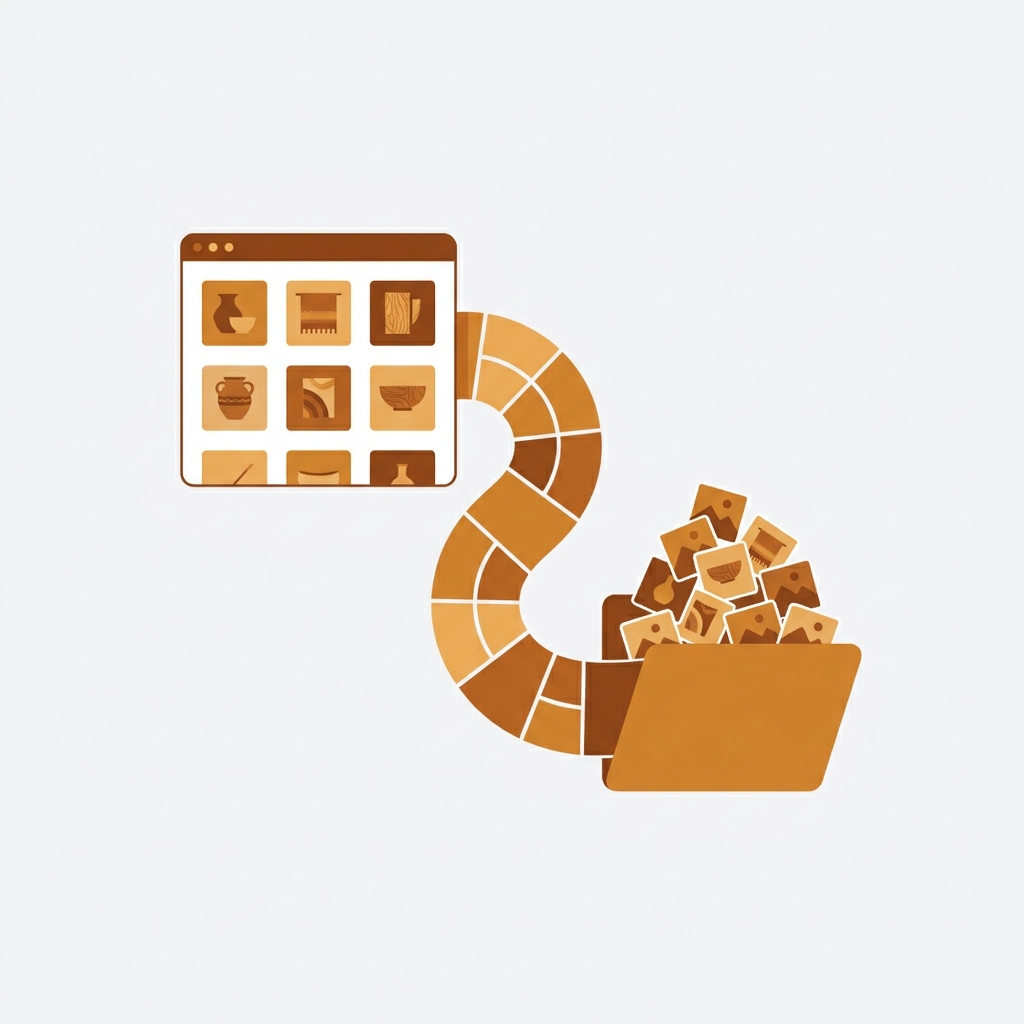
You want to export product images from Shopify, and you assumed it would be a button somewhere in admin. It is not. Shopify gives you a product CSV export, but that file only holds image URLs, not the actual image files. So you end up with a spreadsheet full of links and no folder of pictures. Frustrating, right?
This post covers every working way to pull your images out: the manual CSV plus download route, a couple of free workarounds, and the app method that does it in one click. I will be honest about where each one breaks, because some of these “free” methods cost you an entire afternoon.
Quick answer up front: if you have more than 50 products, skip the manual route and use an export app. If you have a handful, the CSV trick is fine. The rest of this post explains why.
In this post
- Why Shopify has no native image export
- Method 1: product CSV plus bulk URL download
- Method 2: manual right-click (small catalogs only)
- Method 3: an export app (the fast way)
- Keep your file names SEO-friendly on the way out
- Frequently asked questions
- Related reading
Why Shopify has no native image export
Shopify stores your images on its own CDN. When you export a product CSV (Products, then Export), the file lists the public CDN URL of each image in the “Image Src” column. That is the closest thing to a native export, and it is genuinely useful as a manifest. But it is a list of addresses, not the files themselves.
Why does Shopify do it this way? Honestly, because most merchants never need the raw files back. The image already lives on the CDN, so Shopify has no reason to zip them up for you. That logic falls apart the moment you are migrating platforms, backing up a catalog, or handing assets to a designer. Then you need actual files.
Three situations where you really do need the files, not the links:
- Migration: moving to a new store, a new theme build, or off Shopify entirely.
- Backup: you want a local copy before a big bulk edit or a risky app install.
- Reuse: sending product shots to a marketplace, a print catalog, or an ad team.
Method 1: product CSV plus bulk URL download
This is the free, no-app route. It works, but it has steps. Here is the flow:
- Go to Products in admin, click Export, choose “All products” and “Plain CSV file”.
- Open the CSV. Find the “Image Src” column. Every image URL is there, one row per image.
- Copy that column into a plain text file, one URL per line.
- Feed that list to a bulk downloader. On Mac or Linux, a one-line
wget -i urls.txtin Terminal does it. On Windows, a browser extension like a bulk image downloader works.
Where it bites you: the downloaded files keep Shopify’s CDN names, which often look like red-shirt_a1b2c3.jpg with a random hash. You lose the clean original names. And the CSV lists main product images plus extra gallery images all mixed together, so sorting which file belongs to which product is manual work. For 20 products, fine. For 2,000, you will lose a day.
One more gotcha. If your CSV has any curly quotes or broken rows, the URL list breaks too. Run the file through our free Shopify CSV validator first if the download throws errors halfway through.
Method 2: manual right-click (small catalogs only)
Open each product, right-click each image, Save image as. That is the whole method. It is not clever, but for a 10-product store it is faster than setting up anything else.
The catch is obvious: it does not scale, and you will grab the displayed size, not always the full-resolution original. If image quality matters (and it does, Shopify supports up to a 20 megapixel, 4472 by 4472 source), pull from the CSV URL instead, which points to the original upload. Speaking of quality, if you have ever hit the upload size wall, our guide on the Shopify 25 MP image limit error explains the real ceiling.
Method 3: an export app (the fast way)
If your catalog is past a few dozen products, an export app is the only sane option. A dedicated tool like Export Product Images zips every image and lets you filter by collection, vendor, or tag, rename files into SEO-friendly names on the way out, and keep your folder structure intact. One job, one ZIP, done.
We built that app after watching too many merchants fight the CSV route, so I am biased. But the math is simple: when a job that takes a script-savvy developer 30 minutes takes a store owner half a day, the app pays for itself on the first export. The features that actually matter in any export app, ours or otherwise:
- Filtering: export one collection, not the whole store.
- Rename on export: turn hashed CDN names back into readable, keyword-rich file names.
- Metadata: a CSV that maps each file back to its product, SKU, and alt text.
- Full resolution: the original upload, not a resized display copy.
Exporting is only half the story. The reverse trip matters too: if you are moving images into a store, that is a different workflow, and matching files to the right products by SKU is where most people get stuck. If you ever need to push images back up, plan the file names before you do.
Keep your file names SEO-friendly on the way out
Here is a step most people skip. Your exported files are a chance to fix bad names. Google reads image file names as a ranking signal, and IMG_4823.jpg tells it nothing. navy-merino-wool-sweater.jpg tells it everything.
If you are exporting to re-import (a migration, say), rename during export and you carry clean names into the new store for free. Want the full method? Our catalog and swatch guides touch on naming, and you can sanity-check your current library with the free Shopify product image audit tool before you export.
And if your store leans heavily on color or style variants, your image strategy is bigger than just export. Showing the right photo per variant is its own problem. Rubik Variant Images handles that on the product page, and if you sell each color as a separate product, Rubik Combined Listings links them with swatches on collection pages. Worth knowing before you export and restructure.
Frequently asked questions
Can I export product images from Shopify without an app?
Yes. Export a product CSV from the Products page, copy the “Image Src” column into a text file, and run that URL list through a bulk downloader (such as wget -i on Mac or Linux, or a browser bulk-download extension). It works, but file names keep Shopify’s hashed CDN format and you sort products manually. Practical for small catalogs, painful past 50 products.
Does the Shopify CSV export include the actual image files?
No. The CSV only contains image URLs in the “Image Src” column, not the image files themselves. The pictures stay on Shopify’s CDN. To get the files you either download from those URLs or use an export app that zips them for you.
How do I export images for one collection only?
The native CSV export does not filter by collection cleanly for images. An export app with collection, vendor, or tag filters is the reliable way to pull a single collection’s images without exporting the whole store and sorting afterward.
Will exporting images affect my live store?
No. Exporting is a read operation. It copies images out, it does not delete or change anything on your storefront. It is actually a smart thing to do before any bulk edit, theme change, or risky app install, as a backup.
Are exported images full resolution?
If you pull from the CSV URL or use an export app, yes, you get the original upload. If you right-click and save from a product page, you may grab a resized display version instead of the full-resolution source. For migrations or print, always pull the original.
Related reading
- Shopify 25 MP image limit error, explained and fixed
- Shopify file storage limits
- How to show multiple images per variant on Shopify
- Rubik Variant Images for per-variant image control
- Rubik Combined Listings for separate-product catalogs
One last tip from the trenches. Whatever method you pick, export once as a clean backup before your next big catalog change. The day a bulk edit goes wrong, a folder of original images is the difference between a 10 minute restore and a week of re-shooting.

Umid
Co-Founder at Craftshift